

It’s been while (I think every recent post has started like that), but here is something different for you guys. I noticed a while back that the floor mat of my trunk was wet. I peeled it back, and sure enough, there was a pool of water and some nice rust. Thankfully, this was in an area that didn’t need to be made looking pretty, so my goal was to remove the rust, neutralize what remained, seal the leak, and call it a day.
This is what you will need:
- Rough/low grit sandpaper
- Rust remover/neutralizer
- Primer (optional)
- Sealant

Now, I am not a professional, and this was my first time doing this. Also, again, this was not meant to be a professional job. It was supposed to be quick and dirty.
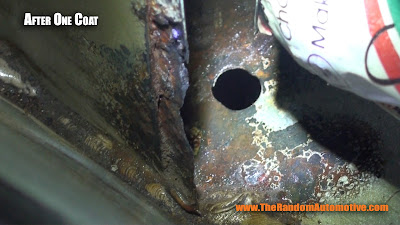
The first thing you want to do is find out where the leak is coming from. If you don’t stop that, your problem will keep happening. For me, I narrowed it down to two spots. One was an alignment hole for the real valance/bumper, and other was some damaged sealant. I took my sealant and smeared it over the alignment hole. That was simple.


The CORRECT way to tackle the other area would be to remove the old sealant with a wire brush, but I opted just to clean the area, and apply the new sealant over the old stuff. Preparation is everything. In the long run, this could bit me in the butt, but I just wanted to get this done quickly.


After that, you want to start sanding down the rust. I found some 80 grit sandpaper, so I attacked it all with that. Again, it doesn’t matter how this area looks for me. After you sand the area down as best you can, you have to clean it. A shop vac would be a great tool. I didn’t have one, so I managed with fingers and paper towels.


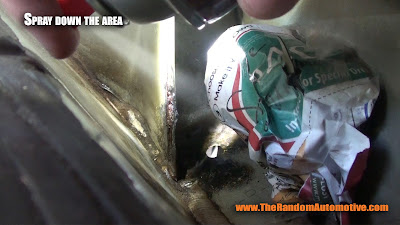
Now it’s time to treat the metal. An epoxy primer is probably best, but again, for quick and dirty, it was suggested I use Dupli Color Rust Fix. This stuff chemically converts whatever rusted metal is left into a black primer. It was pretty cool to see it work. Just follow the directions on the can. You might have to use a couple coats.

When that is dry (a full 24 hours would be best to wait), you might want to hit the area with a good primer just to tidy it all up. If you want it to look really good, apply some body filler to the area and sand that down to a smooth and factory looking finish, and follow it up with some more primer. I just left it at the Rust Fix state. Again, this is not in an area I care about.

If you see rust in an area like this, do your best to stop it as soon as you can! Rust spreads like a virus and can kill cars. Find the leak, stop the leak, remove the rust, treat the metal, and you’re good to go!
To see me tackle my car, in a perhaps not so informative way, check out the video below. What to see more stuff like this? Make sure you head on over and subscribe to our YouTube channel. Don’t forget to like us on Facebook, and be sure to follow us on Twitter for some exclusive content! Thanks for stopping by.
Comments
Post a Comment